How to Make Perfect Bread and Crumbs at Home in 5 Steps
Few things are as comforting as the smell of freshly baked bread wafting through your kitchen. The golden crust, the warm, fluffy interior—it’s an experience that goes beyond taste. But what happens when that delicious loaf starts to go stale? Instead of tossing it away, why not transform it into something just as useful—homemade bread and crumbs! This easy, cost-effective method helps you minimize food waste while creating a kitchen staple that can be used in countless recipes.
Making bread and crumbs at home is surprisingly simple, requiring only a few basic steps. Plus, it allows you to control the texture and flavor, whether you prefer fine, crisp crumbs for breading or chunky pieces for stuffing and casseroles. If you’ve tried our homemade croutons recipe, you’ll love this process just as much—it’s another way to maximize your ingredients and get the most out of your pantry.
By the end of this guide, you’ll have perfectly made bread and crumbs that you can use for coatings, thickening soups, or even adding a crunchy topping to your favorite dishes. So, grab that leftover bread, and let’s get started!
Table of Contents
What is Bread and Crumbs?
Ever wondered why it’s called bread and crumbs and not just breadcrumbs? Well, the name tells the whole story! It’s essentially bread that has been broken down into crumbs, but it can also refer to a whole range of textures—from soft, torn bread pieces to fine, golden crumbs perfect for frying.
There’s a classic saying, the way to a man’s heart is through his stomach, and if there’s one ingredient that has helped home cooks win hearts, it’s breadcrumbs! They add crunch, depth, and flavor to everything from meatballs to macaroni and cheese. Plus, making them at home ensures you get fresh, preservative-free crumbs that taste far better than store-bought versions.
So, instead of letting your leftover bread go to waste, let’s turn it into something truly delicious and versatile!
Why You’ll Love This Bread and Crumbs Recipe
1. Save Money and Reduce Waste
Buying pre-made breadcrumbs can be expensive, and they often contain unnecessary additives. Making your own not only saves you money but also helps you reduce food waste by using up stale bread.
2. Customize Your Flavor and Texture
Want extra crispy crumbs for coating chicken? Prefer soft breadcrumbs for stuffing? When you make your own bread and crumbs, you control everything—from the size of the crumbs to the seasoning.
3. A Staple for Many Recipes
Homemade breadcrumbs are incredibly versatile. Use them in meatballs, casseroles, fried foods, or even as a topping for mac and cheese. The possibilities are endless!
How to Make Bread and Crumbs
Quick Overview
Making bread and crumbs is incredibly easy and requires just a few simple steps. The process takes about 15-20 minutes, depending on how crispy you want your crumbs.
Key Ingredients for Bread and Crumbs
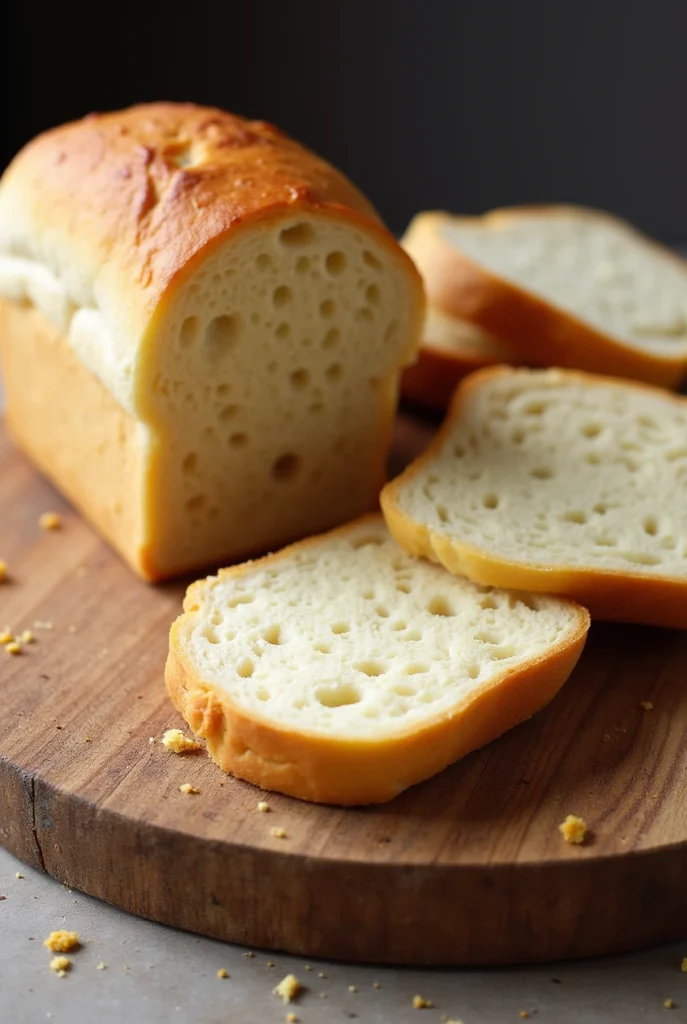
- 4-5 slices of stale bread (any type: white, whole wheat, sourdough)
- 1 tablespoon olive oil or butter (optional, for extra flavor)
- 1/2 teaspoon salt (optional)
- 1/2 teaspoon garlic powder or Italian seasoning (optional, for seasoned crumbs)
Step-by-Step Instructions
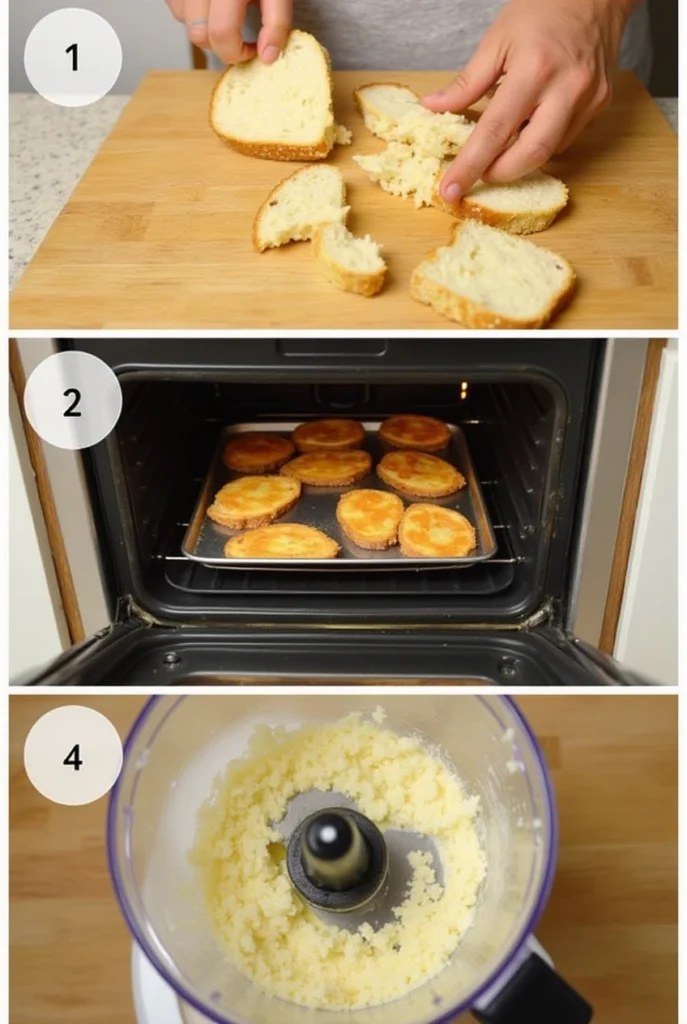
- Preheat the Oven: Set your oven to 300°F (150°C). This low heat helps dry out the bread without burning it.
- Prepare the Bread: Tear or slice the bread into smaller pieces and spread them on a baking sheet.
- Toast the Bread: Bake for 10-15 minutes, flipping halfway through, until the bread is dry and crisp.
- Grind or Crush: Let the bread cool completely, then pulse in a food processor for fine crumbs or crush with a rolling pin for chunkier pieces.
- Store Properly: Transfer the crumbs to an airtight container and store them in a cool, dry place.
What to Serve Bread and Crumbs With
- Use as a crispy coating for chicken, fish, or tofu.
- Sprinkle on top of baked pasta or casseroles.
- Add to soups and stews for thickening.
- Mix into burger patties or meatballs for extra texture.
Top Tips for Perfecting Bread and Crumbs
- Use stale bread: Fresh bread has too much moisture and won’t crumble well.
- Toast at low heat: Avoid burning by drying the bread slowly.
- Experiment with seasonings: Add herbs, garlic powder, or cheese for flavored breadcrumbs.
Storing and Reheating Tips
- Room Temperature: Store in an airtight container for up to 2 weeks.
- Refrigeration: Keeps fresh for up to 1 month.
- Freezing: Freeze in a zip-top bag for up to 6 months.
- Reheating: Toast in the oven for a few minutes to restore crispness if needed.

FAQ
Q: Can I use fresh bread for breadcrumbs?
A: It’s best to use stale bread, but if you only have fresh, lightly toast it first.
Q: How do I make gluten-free breadcrumbs?
A: Simply use gluten-free bread and follow the same steps!
Q: Can I use a blender instead of a food processor?
A: Yes! Just pulse in short bursts to avoid over-processing.
Conclusion
Making your own bread and crumbs at home is a simple, cost-effective way to elevate your cooking. Not only do homemade breadcrumbs taste fresher, but they also help reduce food waste and give you control over texture and flavor. Whether you’re using them for crispy coatings, adding them to meatballs, or thickening sauces, these homemade crumbs will be a staple in your kitchen. Give this recipe a try and let us know how you use your homemade breadcrumbs!